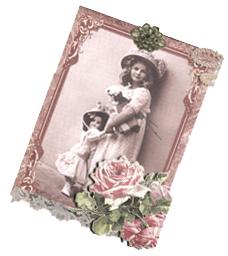
 It
is best if the object you are decaling has a glossy flat (not rounded) surface. Apply decals to a clean surface: ceramic, glass, metal, painted wood, plastic, soap, candles, etc.
It
is best if the object you are decaling has a glossy flat (not rounded) surface. Apply decals to a clean surface: ceramic, glass, metal, painted wood, plastic, soap, candles, etc.
- Carefully cut out the decal from the sheet as close to
the edges as possible.
- Dip the decal in a dish of lukewarm water for about 30 seconds. Larger decals may need to soak a little longer.
- Placing the decal between your fingers, feel if the decal slides from the paper. If it does then you are ready to slide the decal off the backing paper into position on the object. NOTE: If you wet the surface of the object a little, the decal will slide on better.
- Gently blot excess water with a rag or paper towel and smooth with fingers or a straight edge object to work out any bubbles. Allow to dry.
- Apply a coat of spray varnish (like Krylon Crystal Clear Finishing Spray) or a brush on varnish (like Delta Ceramcoat) over the object.
This seals the decal and protects it from fading, surface
scratches, and moisture. Allow setting time of about 3 hours
to dry. Your decorated object is ready!